
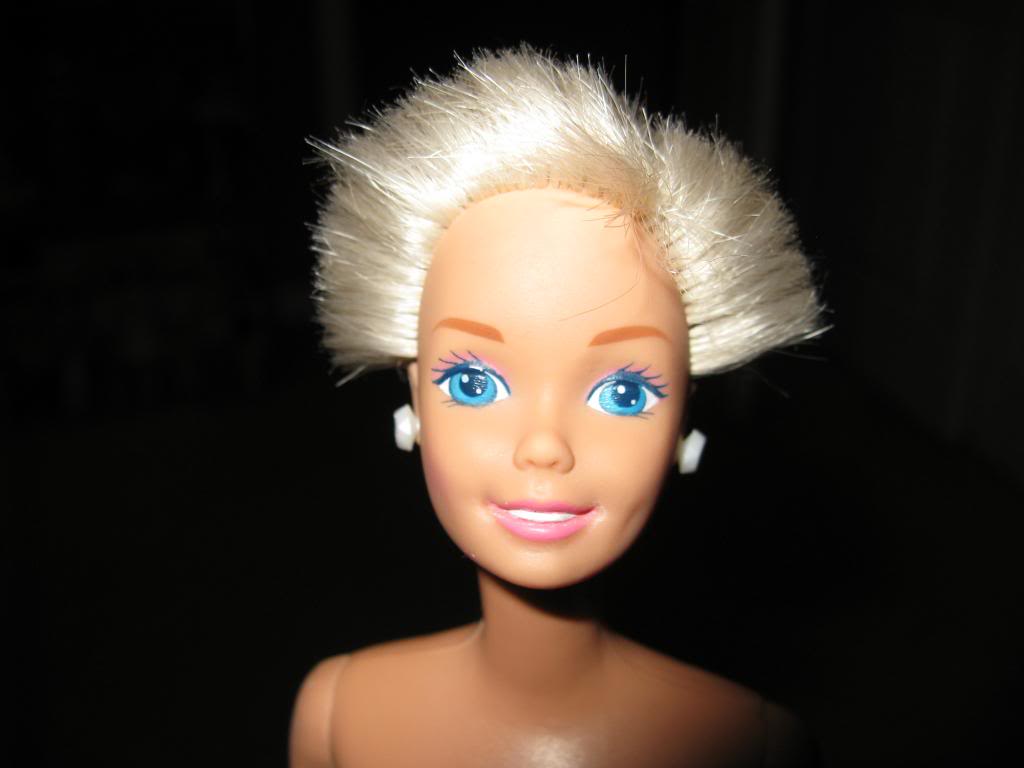
First, just a minor change to one doll. Remember this doll with the REALLY bad haircut?
And then I dressed her in the vintage dress from the Orange Blossom wedding set and gave her a super cute vintage wig?

So the change was to cut her hair a little shorter so the wig will look better and the ends won't be sticking out. So that was the first thing I did. Honestly, she doesn't look any different except that you can't see the blond hair underneath. So I didn't get a fresh pic.
Next. Prince got a BATH!
Prince was super dirty. But I headed to the sink with my awesome smelling shampoo and conditioner and gave him a scrub. (Not that Prince needs color vibrancy or anything) :)

However, the shampoo wasn't working well. I quickly realized that Prince is not synthetic but cloth (similar to a stuffed animal) so I grabbed the Woolite and scrubbed him again.

Much better, and brighter!

After bath time was done, I wrapped him in a towel and gave him a brush and a quick rundown with a warm blow dryer.

I gave him a little touch up on his nose and lips with a sharpie and adjusted his beret.

Lastly I reattached his collar. Perfect! He is ready to be displayed on my shelf with Day to Night Barbie. :) I love how he is so French!

Now, remember a while ago when I got this doll? (The one in the middle.)

I thought she might be a doll that has an intricate hair-do because her hair was so stiff. Well, thanks to Andrea, she informed me that she is Cool Lookz Trendy and Bendy Barbie.
 |
| www.pinterest.com (via www.ebay.com) |
Well, to start it's impossible to comb. Because of the little "white" hairs (which are the wires) you cannot get a comb through it. If you try, the wire will separate from the rest of the hair so then you have to find a way to stick it back in the hair section. So I figure that the best way to go about this is just to style her hair differently sans brushing. And Barbie hair is so fun when it's in ringlet curls right?
So I started the task of taking each section, smoothing it out and twisting it around a pencil. If there were any straggling ends, I just cut them off as shown in the pic. If any locks were really matted and flyaway, I gave them a quick touch with some hair smoothing spray.

The curls are really magic, they just stay in place!

It was definitely a chore to try and separate all those pieces of hair. Someone wanted twisties so I had to un-do all of those then curl them. This took forever!

Okay, all done! Just kidding ;)

I didn't bathe her in the last batch of dolls because I wasn't sure how that would be on the wire hair. So I just wiped her body down and cleaned her up. And also adjusted the hair so they are no longer Medusa curls. :)
And she is so cute so she needs an outfit. A cute dress will do the trick. What do you think of Trendy and Bendy Barbie?

The curls are SO cute! And not too many flyaway ends either. For how horrible this hair was, I think that's a definite win!


Okay, time for the last project. Remember when I made these shoes a while back and I thought it would be fun to make a pair for Barbie?

Well, I FINALLY started!
Here we go, Mod Podge, fabric, and Barbie shoes. We don't need a lot of fabric for this project nor do we need two of the same color shoes. This was the perfect time to dig into the bag of mismatched shoes and grab a couple (make sure they are the same shape!)

I didn't have an old paint brush (or one small enough for that matter) to apply the Mod Podge to the shoes so I just used my fingers. I don't recommend this as Mod Podge is not like glue and does not wash off easy. It sticks to the fingernails something fierce!
After you apply the Mod Podge to the shoe, press the fabric over it and make sure it's smooth. Then you want to cut off some of the excess fabric and the shoe opening. But make sure you leave enough to wrap around the heel.

Then after it sits overnight or so, you can start gluing down the ends that did not get stuck. I used a toothpick to apply the Mod Podge here. Much easier than the finger!

I'm not completely done with them yet but I just had to try them on a doll. What do you think so far?

The other side

And the front!

The reason why there is still a chunk of fabric is I haven't yet wrapped it around the heel. :)
Want to make a pair of these shoes for yourself? Check this post at Love Maegan. She gives a great tutorial. The best part is you get to personalize them! Make them all YOU. I wanted to wear mine to a luau in Hawaii so I chose Hibiscus print.
http://www.lovemaegan.com/2011/11/houndstooth-shoes-diy.html
Hopefully I'll continue my creative streak in the next post.
Until then!
3 comments:
You were pretty busy with your projects. I'm very proud of you, Thumbs up!
Prince looks as good as new now and he will look great next to Day to Night Barbie.
Great hob on Cool Lookz Barbie, she looks much better now. She really was a challenge.
Yiur shoe project turned out pretty good. This is actually a great way of getting pairs from mismatched shoes. So far I only repainted some Barbie shoes to get a look I wanted. Must give this a try.
Oops, typo - that should read: Good Job on Cool Looku Barbie
Thank you! :) haha. Yeah, I might craft a little more in the next few weeks when I get a spare moment. I like the recovering shoes project. It's really fun and a great way to use some tiny pieces of fabric. I have some samples of shiny fabrics that might be really cute for some shoes or maybe even purses!
Yeah, I like Cool Lookz Barbie now. She was difficult but I'm excited with the end result! LOVE the curls. :)
Post a Comment